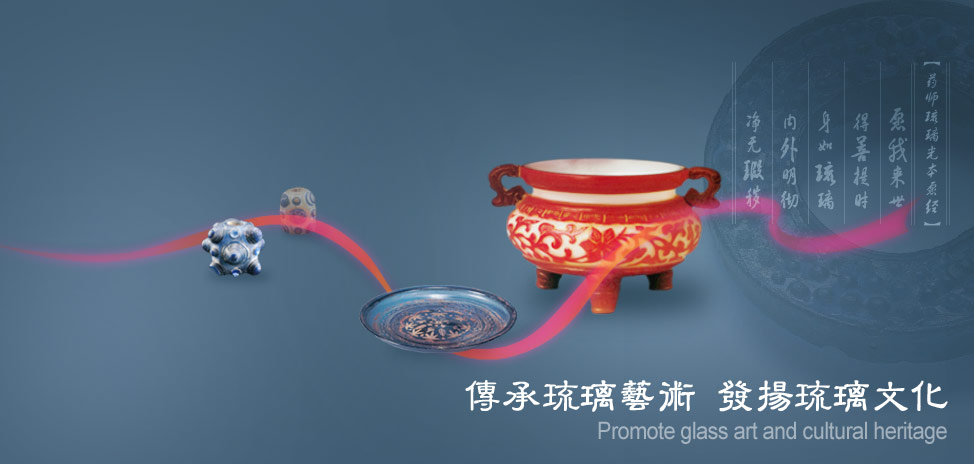
1.Each bead begins with a small piece of copper refrigeration tubing. Bob places it on a stainless steel mandrel and heats it in the flame of a propane torch until it is red hot.
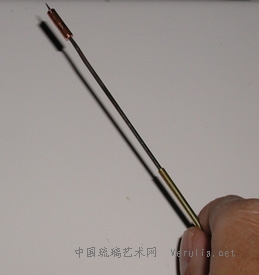
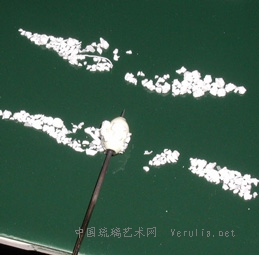
2.Once the tubing is red-hot, it is rolled in a finely ground enamel glass that is the consistency of sand. This fine enamel adheres well to the hot copper and makes a "sticky" base for the larger chunks that will be applied next. Bob usually repeats this process about five times, going back to the torch between coats to heat it up so that more enamel will be accepted
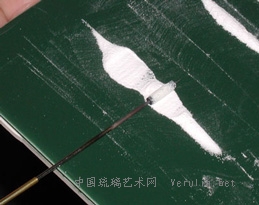
3.To build up the size of the bead, Bob begins to slowly add more enamel, in the form of small chunks. This is the very same material as in the previous step, but it is ground more coarsely. After picking up a few chunks of enamel, Bob returns the bead to the flame while continually rotating it to maintain the shape
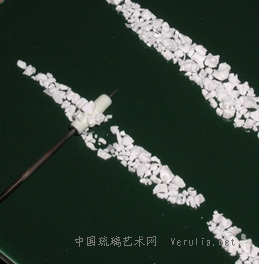
4.Bob continues to add more chunks of enamel until the bead is the size he wants.
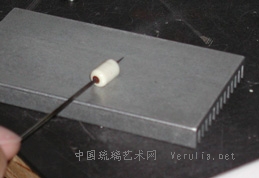
5.Beads can be formed into a variety of shapes by rolling or pressing them on an aluminum marving pad as shown at right. They must be returned to the heat of the torch at least a few seconds after working them on the marving pad, so that the glass won't go into shock and crack
6.Once the basic bead is the shape and size desired, the fun begins! Bob adds colored chunks of enamel that will become part of the design
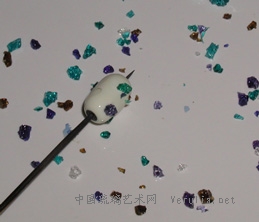
7.While the bead is in the flame, Bob takes a dental pick and draws through the color to make the beautiful designs that make his beads "one-of-a-kind"!
People often ask if the designs are painted on.... it may look that way, but the designs are acually melted enamel glass that is poked and swirled to make a variety of beautiful designs.
Once Bob is satisfied with his creation, the bead is left to cool slowly in a ceramic blanket for about 30 minutes.
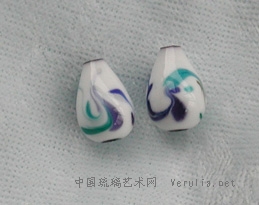
8.These beads are ready to be made into a pair of earrings
|

